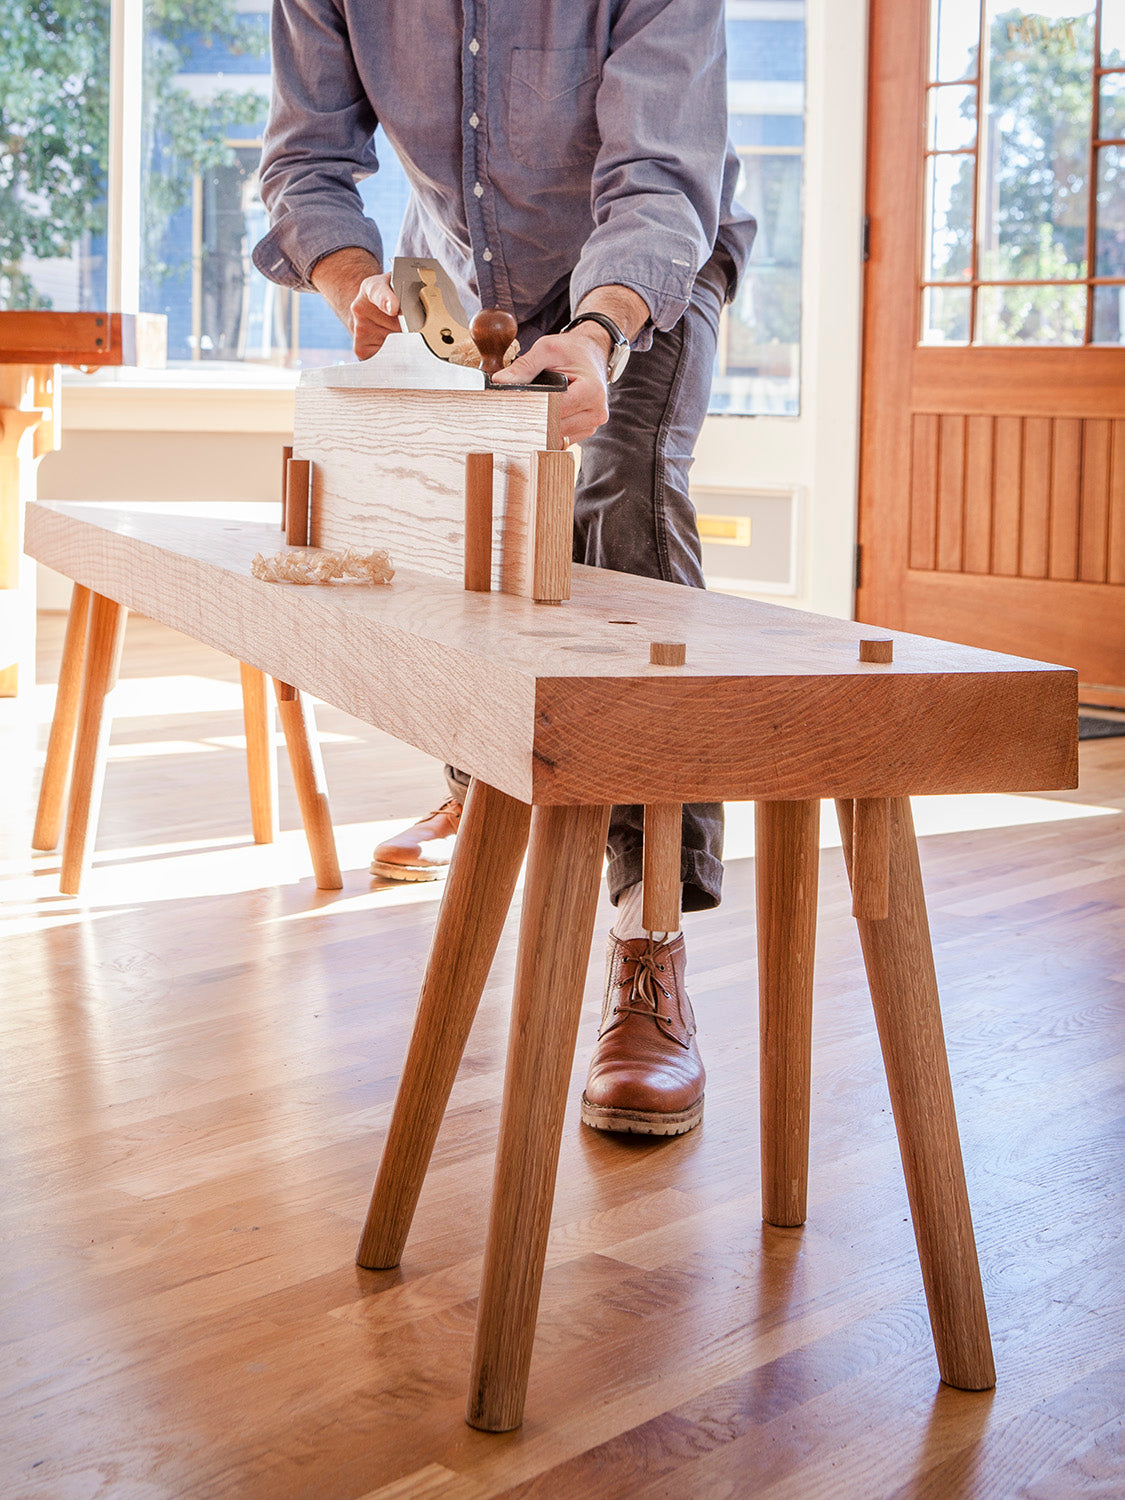
Roman workbenches belong to a class of furniture that historian Victor Chinnery called “staked” or “with stake feet.” Essentially it is a platform of thick wood with legs driven into the plank, like tent stakes.
The staked feet make construction a cinch (bore holes, drive in the legs and wedge them). But what is more interesting to a workbench nerd such as myself is the benchtop itself.

First off, it’s low. The benchtop is right below your kneecap. There are no vises, but there is a series of holes bored into it. The pattern of holes seems random at first, but after working with these benches for several months the holes began to make sense. Some of the holes restrained the work from shooting forward; others restrained it from flying sideways off the bench.
What’s also important is what you put into these holes. A modern woodworker (such as myself) might assume that you would put low bench dogs into these holes. But what if you had a bunch of tapered stakes of different heights to put into the holes? Would that change the workholding? (Spoiler alert: yes.)
The workbench I built has a benchtop that is 3″ x 15″ x 85″ with eight legs that are 2″ in diameter x 22″ long (before being cut to their final length after the bench is assembled). My benchtop is red oak; the legs are white oak, though just about any species will do.
The sightline and resultant angles for the legs as well as the benchtop holes placement are shown in the diagrams on page 72 [of this issue]. All of the legs are glued and wedged into the top, then planed flush to the benchtop.

Building the bench was the easy part – it took less than 10 hours working by hand. Decoding the workholding was the real puzzle. Following is how I learned to work on the faces, edges, and ends of boards on this low workbench with the help of old drawings, blurry photographs, and stubbornness.
– Christopher Schwarz, excerpt from “Decoding the Roman Workbench” in The First Three Issues

